How to Use an OEM Vacuum Pump to Bleed Brakes: A Complete Guide
Bleeding brakes is an essential maintenance process that every vehicle owner should be familiar with. It is crucial to ensure that your car’s braking system operates efficiently and that your brake fluid is free of air pockets. One of the most effective methods for this is using an OEM vacuum pump to bleed brakes. This article provides an in-depth guide on how to use an OEM vacuum pump to perform brake bleeding properly.
We will cover step-by-step instructions, tools required, common issues, and FAQs related to bleeding brakes with a vacuum pump. Let’s dive into the essentials and get you comfortable with this important process.
Understanding the Brake Bleeding Process
The braking system is a crucial part of your vehicle’s safety system, consisting of several components, including brake fluid, calipers, brake lines, master cylinder, and wheel cylinders. Over time, air may enter the braking system, causing the brakes to feel spongy and less responsive, which can be dangerous. Bleeding the brakes removes these air bubbles to restore proper brake function.
Using an OEM vacuum pump to bleed the brakes is a popular method because it allows you to remove air from the system effectively. A vacuum pump works by creating negative pressure, which pulls the brake fluid through the system, eliminating air in the process. Below, we’ll explore the exact steps to achieve this.
Tools and Materials You Will Need
Before we begin, gather the following tools and materials:
- OEM Vacuum Pump (preferably a pneumatic vacuum pump)
- Brake Fluid (ensure compatibility with your vehicle’s system)
- Bleeder Valve Wrench
- Brake Fluid Reservoir
- Jack and Jack Stands
- Hose and Collection Bottle
- Gloves and Safety Goggles
Ensure that you are working on a level surface, and wear safety gear to protect yourself from brake fluid, as it is corrosive.
Step-by-Step Guide to Bleed Brakes with an OEM Vacuum Pump
1. Prepare the Vehicle
Begin by parking your vehicle on a flat, solid surface. Use a jack to lift the car and secure it on jack stands. You will need to lift the wheel that you are bleeding. Always start with the wheel furthest from the master cylinder – usually the rear passenger wheel, and then work your way closer.
- Tip: It’s a good practice to always refer to your vehicle’s service manual for the correct order when bleeding brakes.
2. Check the Brake Fluid Reservoir
Locate the brake fluid reservoir, typically found near the master cylinder. Ensure that it is filled to the recommended level with the correct brake fluid. This is important because the reservoir must not run dry during the bleeding process, as it can allow more air to enter the system.
- Note: Use only the brake fluid specified for your vehicle. This information is generally available on the reservoir cap or in your vehicle’s owner’s manual.
3. Attach the Vacuum Pump to the Bleeder Valve
Locate the bleeder valve on the brake caliper. Place a wrench on the valve and attach a hose from the vacuum pump to the valve. The hose should fit securely to prevent any air leaks.
- Tip: Using a bleeder bottle to collect old brake fluid helps prevent spills and allows you to monitor the fluid flow easily.
4. Create a Vacuum and Open the Bleeder Valve
Use the OEM vacuum pump to create a vacuum by pumping until you achieve the required negative pressure. Once there is sufficient vacuum, use the wrench to slowly open the bleeder valve. You will start to see brake fluid and air bubbles being drawn into the collection bottle.
Keep an eye on the brake fluid level in the reservoir. Ensure it does not drop below the minimum mark.
5. Close the Bleeder Valve and Repeat
Once the brake fluid flowing into the bottle is free of air bubbles, close the bleeder valve. Repeat the process for all four wheels, moving from the furthest wheel to the nearest.
- Warning: Brake fluid is corrosive, so make sure to clean any spills immediately to avoid damage to your vehicle’s paint or other components.
6. Test the Brake Pedal
After bleeding all the brakes, check the brake pedal feel. It should be firm when pressed. If the pedal still feels spongy, there may still be air in the system, and you may need to repeat the process.
7. Refill the Brake Fluid Reservoir
Finally, make sure the brake fluid reservoir is filled to the recommended level and replace the cap securely.
Benefits of Using a Vacuum Pump to Bleed Brakes
- Efficiency: Bleeding brakes with a vacuum pump is faster compared to manual methods, especially for those without assistance.
- One-Person Operation: Unlike traditional methods that require two people, a vacuum pump allows you to do the job alone.
- Effective Air Removal: The vacuum pump method is effective in eliminating air from the system, resulting in improved pedal feel and braking performance.
Common Issues and Troubleshooting
1. No Fluid Flow
If no fluid flows through the hose, check to ensure that the bleeder valve is open and that there are no obstructions. The vacuum pump should be capable of pulling fluid without difficulty.
2. Air Leaks
If you notice air bubbles that keep reappearing, it might indicate a leak. Ensure all connections are tight, including those on the hose, bleeder valve, and reservoir.
3. Spongy Brake Pedal After Bleeding
This could mean that some air still remains in the braking system. Repeat the bleeding process and make sure to follow the correct order.
Internal Resources for Vacuum Pump Parts and Tools
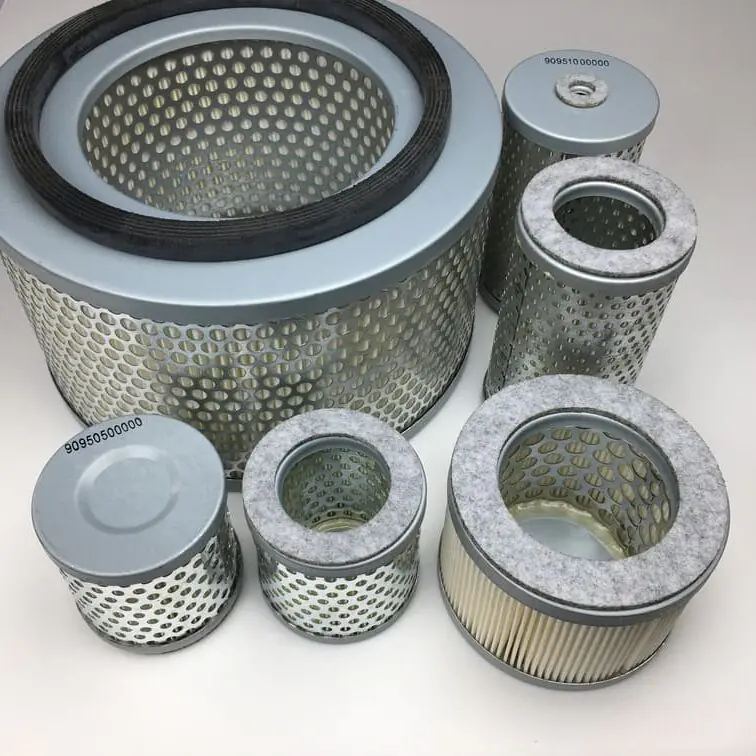
For all your vacuum pump needs, including OEM vacuum pumps and brake bleeding accessories, consider checking out Vacuum Pump Part’s Inlet Filters for high-quality replacement parts. Additionally, explore our Brake Bleeder Kits for tools that make bleeding brakes a breeze.
FAQs
1. How often should I bleed my brakes?
Brake bleeding should typically be done every two years or as recommended by your vehicle’s manufacturer. It is also important to bleed brakes whenever you notice a spongy brake pedal or after performing any major brake repairs.
2. Can I use a pneumatic vacuum pump instead of a manual one?
Yes, a pneumatic vacuum pump can be more efficient as it works faster and requires less physical effort compared to a manual pump.
3. What type of brake fluid should I use?
Always use the brake fluid specified in your vehicle’s owner’s manual. Common types include DOT3, DOT4, and DOT5. Using the wrong type of fluid can damage the braking system.
4. What should I do if my brake fluid reservoir runs dry during bleeding?
If the reservoir runs dry, air may enter the brake lines, requiring you to start the entire bleeding process again. Always keep an eye on the reservoir and refill as necessary.
5. How do I know if my brakes are properly bled?
After bleeding the brakes, the brake pedal should feel firm, and the vehicle should stop effectively without delay. If the pedal is still soft, you may need to re-bleed.
6. Is bleeding brakes with a vacuum pump better than the traditional two-person method?
Yes, using a vacuum pump is generally faster, easier, and can be done by one person. It is also more effective in ensuring all air is removed from the system.
Conclusion
Bleeding brakes with an OEM vacuum pump is a highly effective way to ensure your vehicle’s braking system is functioning properly. By following the steps outlined in this guide, you can easily remove air from the brake lines, ensuring a firm brake pedal and optimal braking performance.
For all your vacuum pump and brake bleeding needs, visit vacuumpumppart.com, where you’ll find high-quality tools and expert guidance to keep your vehicle safe and efficient. Remember, a properly maintained braking system is key to ensuring your safety on the road, so don’t delay this essential maintenance task.


