When it comes to automotive maintenance, one of the most important systems to keep in good condition is the air conditioning (AC). A properly functioning AC system provides comfort during warm weather, but maintaining it requires more than just refilling refrigerant. Using a vacuum pump to maintain your car AC system is crucial to ensure that air and moisture are fully removed from the refrigerant lines. In this guide, we will take an in-depth look at how to use a vacuum pump on a car AC, its importance, and the step-by-step process to do it correctly.
Understanding the Basics of Car AC and Vacuum Pumps
Why Use a Vacuum Pump on a Car AC?
Before you dive into using a vacuum pump on your car AC, it’s essential to understand why this process is needed. The vacuum pump serves two significant purposes:
- Removing Air and Moisture: The presence of air and moisture can significantly affect the efficiency of your car AC. Air contains contaminants, while moisture can freeze and block the refrigerant flow. The vacuum pump helps remove these impurities, ensuring the refrigerant works optimally.
- Checking for Leaks: Applying a vacuum to the system also helps verify the integrity of the entire system. If the vacuum pressure holds steady without dropping, this indicates that the system is sealed correctly without any leaks.
Components of a Car AC System
To understand how the vacuum pump fits into the process, it helps to know the main components of your car’s AC system:
- Compressor: The heart of the AC system that pumps refrigerant.
- Condenser: Converts the refrigerant from a gas to a liquid by cooling it.
- Evaporator: Absorbs heat from the cabin, allowing cool air to blow inside.
- Expansion Valve: Controls the flow of refrigerant to the evaporator.
- Receiver/Drier: Removes moisture and filters debris.
Step-by-Step Guide to Using a Vacuum Pump on Car AC
Tools You Will Need
Before getting started, you need a few tools to ensure the process is done correctly:
- Vacuum Pump: A pump capable of creating low-side vacuum pressure.
- Manifold Gauge Set: To monitor system pressure.
- Refrigerant: Required to recharge the system after vacuuming.
- Wrenches: To attach the hoses securely.
Make sure you have all these tools before you begin. Using the wrong equipment or skipping tools can lead to incomplete maintenance and potential damage.
Step 1: Connect the Manifold Gauge Set
The first step is connecting the manifold gauge set to your car’s AC system. There are three hoses:
- Blue Hose: Connects to the low-side service port.
- Red Hose: Connects to the high-side service port.
- Yellow Hose: Connects to the vacuum pump or refrigerant tank.
Start by identifying the low-side port of the AC system. It’s generally larger and marked with an “L.” Attach the blue hose securely to this port, ensuring that the connection is tight to prevent any leaks.
“Proper connection of the manifold gauge set is crucial to ensure accuracy and safety.”
Step 2: Attach the Vacuum Pump
Once the manifold gauge set is correctly connected, it’s time to attach the yellow hose to the vacuum pump. Ensure that all valves are closed before starting. After attaching the vacuum pump, double-check all connections to ensure they are tight and free from any air leaks.
Step 3: Pull a Vacuum
With the vacuum pump attached, it’s time to turn it on and start pulling a vacuum. Open the low-side valve on the manifold gauge set, allowing the pump to pull air from the system. You should notice the pressure gauge moving into a negative pressure zone.
Tips for Pulling Vacuum:
- Run the vacuum pump for at least 30 minutes to ensure all moisture and air are removed.
- Monitor the gauge throughout this time; the pressure should be between -29 and -30 inches of mercury (inHg) if the vacuum is effective.
Step 4: Check for System Integrity
After running the vacuum pump, close the valves and turn the pump off. Let the system sit for 15-20 minutes while monitoring the gauge. If the needle stays in place and doesn’t drop, it means the system is sealed with no leaks.
However, if the pressure begins to drop, you may have a leak. In that case, inspect all joints, connections, and components for signs of refrigerant escape.
Step 5: Recharge the AC System
After verifying the system’s integrity, it’s time to recharge the AC with refrigerant. To do this, connect the yellow hose to the refrigerant tank and carefully open the low-side valve to let the refrigerant enter the system.
Important Considerations When Recharging:
- Always add the refrigerant according to the manufacturer’s recommended amount.
- Avoid overcharging, as it can lead to compressor damage and reduced efficiency.
Importance of Vacuuming the AC System
Eliminating Moisture and Air
One of the primary reasons for vacuuming your car’s AC is to remove moisture and air. Moisture in an AC system can cause several problems:
- Freezing and Blockage: Water present in the system can freeze, blocking refrigerant flow.
- Acid Formation: Moisture can react with refrigerant and oil to form acids, which can damage the compressor and other AC components.
Avoiding System Contamination
Contamination can lead to poor cooling performance and can even damage the compressor over time. By using a vacuum pump, you can ensure that your AC system runs smoothly without any unnecessary strain.
Improving System Efficiency
Proper vacuuming improves the system’s efficiency. It ensures that the refrigerant is not diluted by air or contaminated by moisture, which can lead to longer cooling times and reduced comfort.
“A well-maintained AC system is not only efficient but also extends the life of your vehicle’s cooling components.”
Troubleshooting Common Issues with AC Vacuum Pumps
Vacuum Pump Fails to Pull Vacuum
If your vacuum pump fails to pull a vacuum, there could be several potential reasons:
- Loose Connections: Check all hoses and fittings to ensure they are securely attached.
- Faulty Pump: The vacuum pump itself might be defective and may need repair or replacement.
- Leaking Hoses: Damaged hoses can allow air to enter, preventing the vacuum from forming.
Inconsistent Gauge Reading
If the gauge reading fluctuates or doesn’t hold vacuum, it typically indicates a leak somewhere in the system. Conduct a thorough inspection of the AC components, including hoses, fittings, and connections.
Vacuum Pump Oil Contamination
The vacuum pump uses oil to lubricate its internal components. If the pump oil becomes milky or contaminated, replace it immediately. Using contaminated oil can reduce the pump’s efficiency and potentially damage it over time. Consider replacing the oil with high-quality vacuum pump oil designed to handle automotive applications.
Preventative Maintenance Tips for Car AC Systems
Check and Replace Seals
Over time, seals within the AC system can wear out and lead to leaks. Inspect all O-rings and seals regularly, especially before vacuuming the system.
Use High-Quality Refrigerant
Using high-quality refrigerant is essential for the longevity and efficiency of the system. Poor-quality refrigerant may contain impurities that can affect the vacuum pump and compressor performance.
Replace Filters and Valves
Replacing filters helps prevent contaminants from entering the AC system. Dirty filters can reduce system efficiency and put extra stress on the compressor. Additionally, faulty expansion valves should be replaced to maintain even refrigerant flow.
“Preventative maintenance is key to extending the life of your car’s AC system and avoiding costly repairs.”
Comparison Table: Common Vacuum Issues and Solutions
| Issue | Cause | Solution |
|---|---|---|
| Vacuum not achieved | Loose fittings | Tighten connections |
| Fluctuating pressure | System leaks | Inspect seals and hoses |
| Milky pump oil | Moisture contamination | Replace pump oil |
Recommended Products for Maintaining Your Car AC
To ensure your car’s AC is always in top condition, consider investing in quality components and tools, such as vacuum pump spare parts. Below are some recommended products:
- 90137301010 | WN 124-205 Original Becker Set of 10 Vanes: High-quality vanes for efficient vacuum pumps.

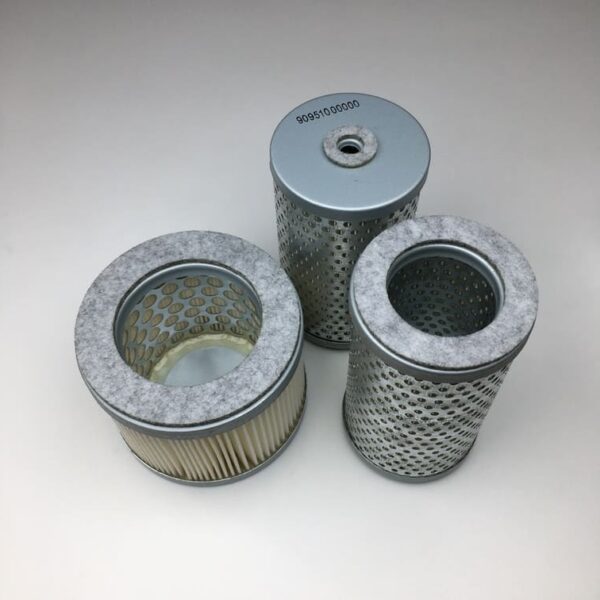
- Becker Air Filter replaces Becker 909540: Replace old filters to maintain AC efficiency.

- 90138800005 | WN 124-220 Original Becker Set of 5 Vanes: Essential replacement vanes for maintaining optimal pump performance.

