How to Turn a Ball Pump into a Vacuum Pump
Vacuum pumps are valuable tools used in a wide array of industries and applications, from scientific research to household repairs. The idea of creating a vacuum pump using a simple ball pump might sound unorthodox, but it is entirely possible and surprisingly effective for basic purposes. In this detailed guide, we will explore how to transform a ball pump into a vacuum pump using affordable tools and materials. Whether you are a DIY enthusiast or simply need a quick solution, this article will equip you with the necessary knowledge to get started.
Understanding Vacuum Pumps and How They Work
What Is a Vacuum Pump?
A vacuum pump is a device that removes gas molecules from a sealed volume to create a partial vacuum. Vacuum pumps are essential for applications that require an environment with little to no air pressure, such as in scientific experiments, automotive maintenance, and manufacturing.
Some primary uses of vacuum pumps include:
- Creating a vacuum for air conditioning repairs.
- Used in food packaging to keep perishable items fresh.
- Applications in medical devices, including aspirators and surgical suction units.
Types of Vacuum Pumps
There are several types of vacuum pumps, each designed for specific functions. Below is a table that highlights the key types of vacuum pumps and their typical uses:
| Type | Application |
|---|---|
| Rotary Vane Pumps | Industrial and laboratory applications |
| Diaphragm Pumps | Chemical and medical industries |
| Piston Pumps | Automotive brake systems and HVAC systems |
| Liquid Ring Pumps | Food and beverage, and paper production |
| Scroll Pumps | Semiconductor and coating industries |
A ball pump is typically used to inflate balls or even small inflatables. However, it can be creatively repurposed into a DIY vacuum pump to handle smaller tasks. Let’s dive into how you can make that transformation.
Tools and Materials Needed
Turning a ball pump into a vacuum pump requires minimal resources, many of which can be found in most households or local hardware stores.
Basic Materials:
- Ball Pump: The core component of this project.
- Check Valves: Ensures air moves in only one direction.
- Tubing: Flexible tubing to connect different parts.
- Sealant Tape: Ensures airtight connections.
- Fittings: Proper fittings to secure tubing.
Optional Enhancements:
- Pressure Gauge: Helps you monitor the vacuum pressure.
- One-Way Valve: A component that allows air to leave but prevents it from entering.
Using the right materials can dramatically improve the efficiency of your DIY vacuum pump. One commonly overlooked aspect is the quality of the sealant tape, which ensures there is no leakage during operation.
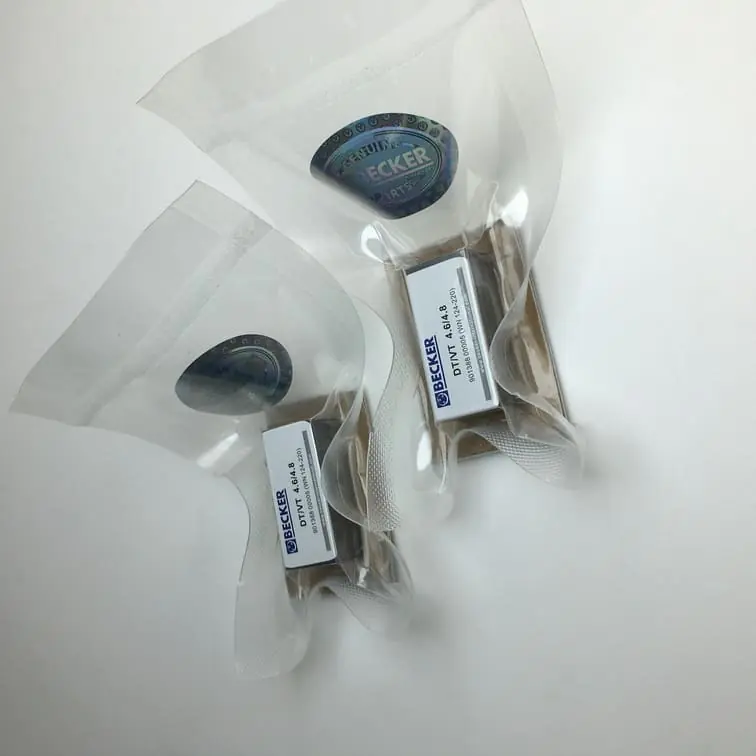
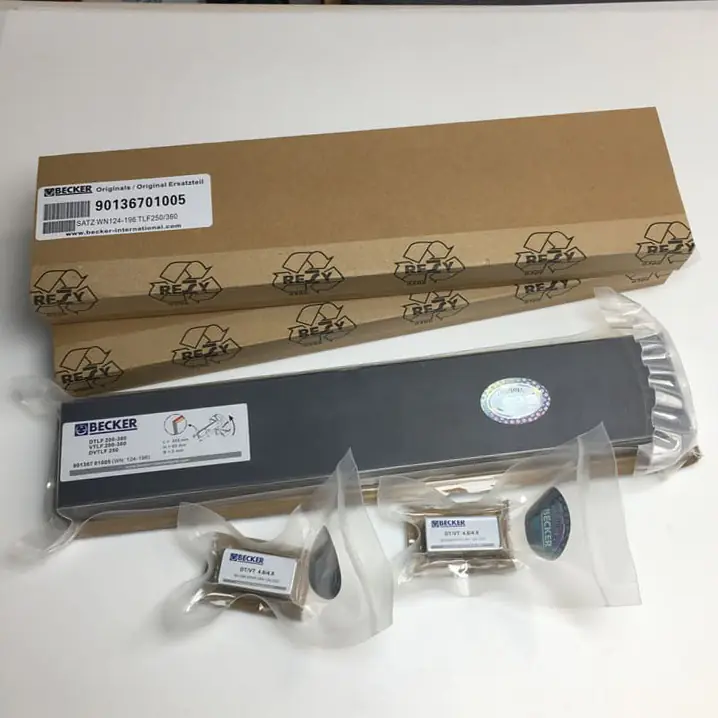
90138800005 | WN 124-220 Original Becker Set of 5 Vanes – An example of carbon vanes that can help improve pump efficiency.
Step-by-Step Process to Create Your Vacuum Pump
Step 1: Disassemble the Ball Pump
- Start by removing the nozzle from the ball pump.
- The ball pump typically uses a check valve to ensure air only goes into the ball. For this DIY, we will reverse this function so the pump can draw out air.
- Keep the internal components handy; they will be necessary in later stages.
Step 2: Install Check Valves
- Attach check valves to both ends of the pump. This step is critical to ensure that air moves in one direction, which is key to creating a vacuum.
- One check valve should be positioned on the intake side, allowing the pump to draw air out of the system, and another at the output to prevent air from going back into the container.
Step 3: Connect Tubing
- Connect tubing to the intake valve of the pump. You may need to use sealant tape to ensure the tubing fits tightly and does not leak air.
- If you have a pressure gauge, connect it to the tubing to monitor the vacuum level being created.
Step 4: Test the System
- Once all the components are properly assembled, test the vacuum pump by trying to create a vacuum in a sealed container.
- You can use the tubing to connect to the container and then use the pump to draw out the air. The gauge, if included, will indicate the pressure level.
Tips to Maximize Efficiency
Ensuring Airtight Seals
- The efficiency of your vacuum pump largely depends on the quality of the airtight seals. Use sealant tape generously where needed.
- Check valves should be properly secured to ensure air moves in one direction.
Replacing Parts for Better Performance
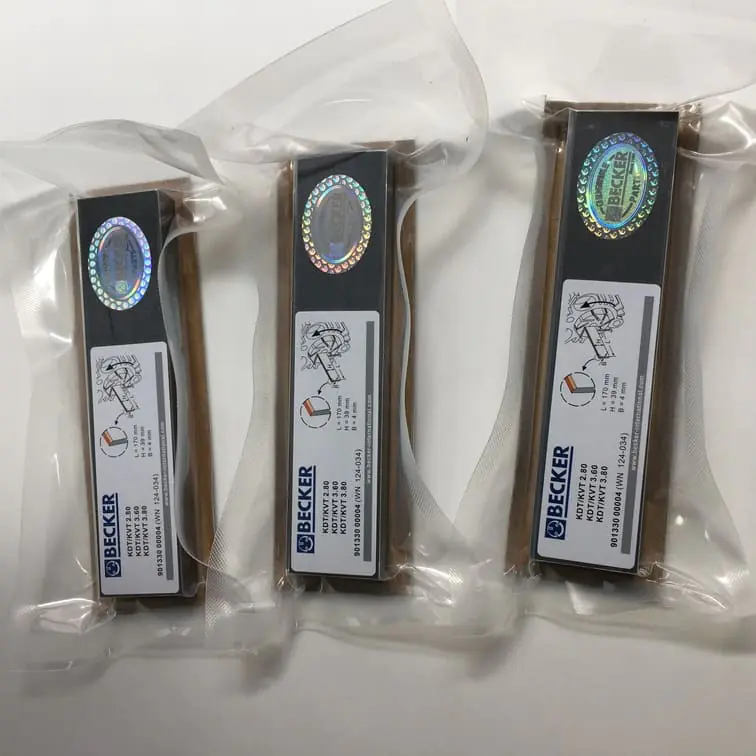
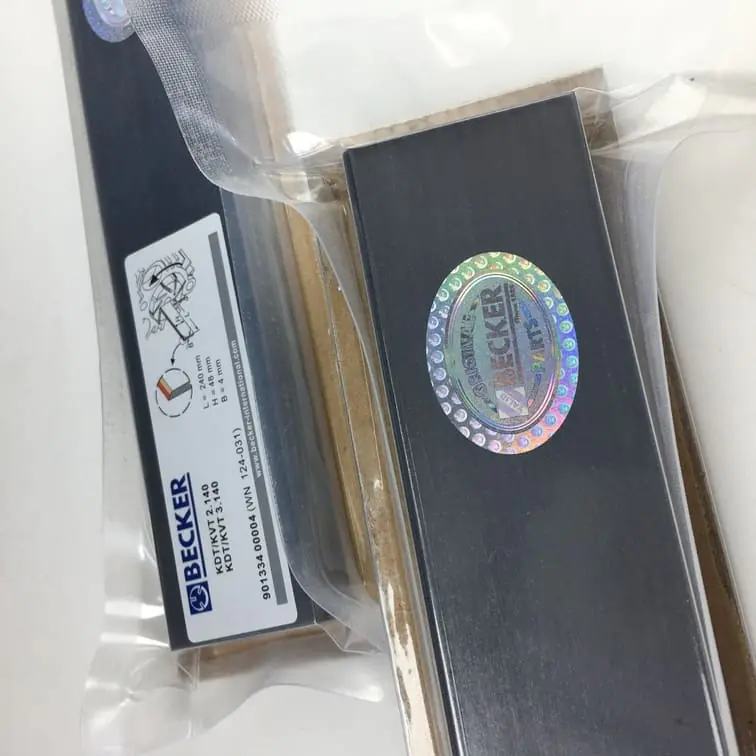
- Using high-quality carbon vanes can significantly improve the performance of your vacuum pump. Carbon vanes are common in many vacuum systems and provide excellent durability.
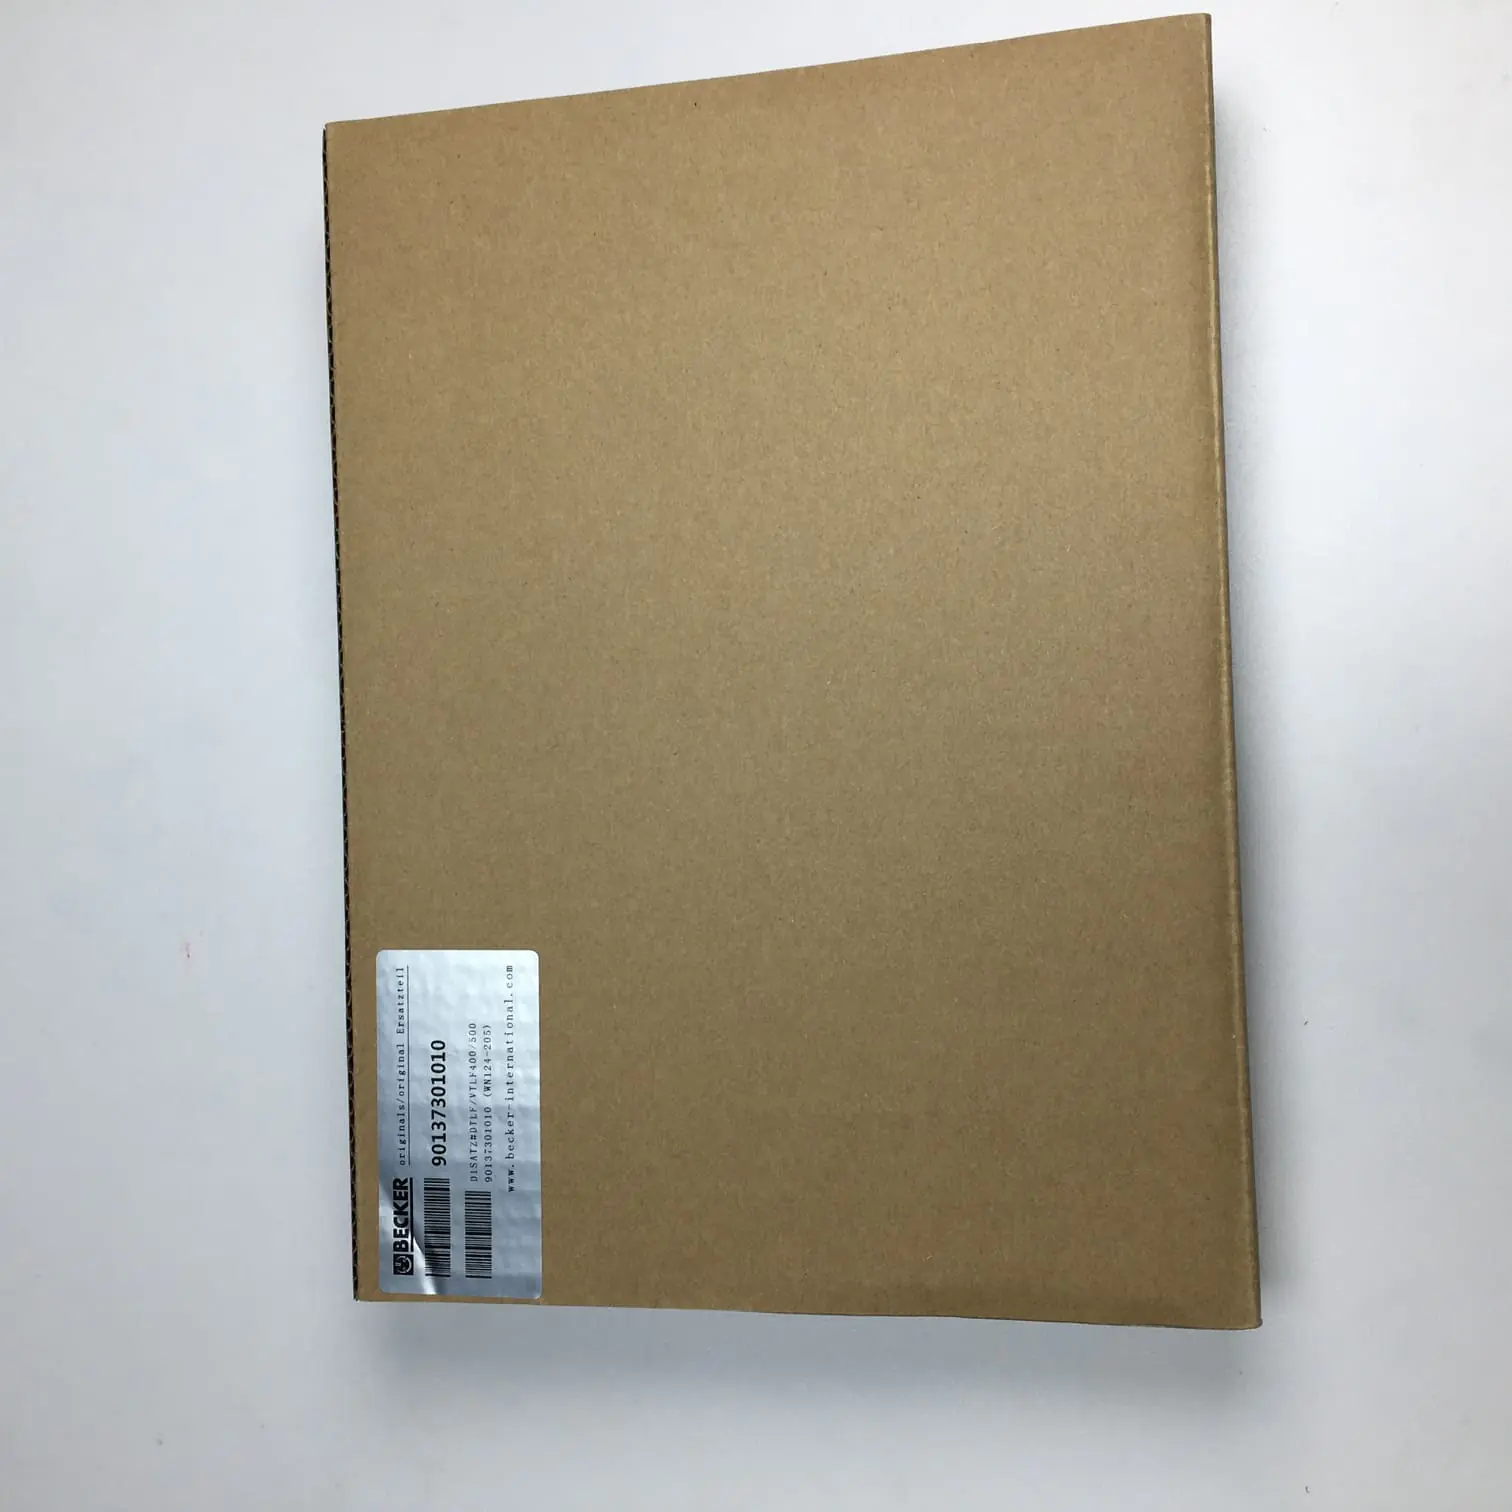
- Check out our available vanes like the 90137301010 | WN 124-205 Original Becker Set of 10 Vanes.
Common Applications of DIY Vacuum Pumps
1. Vacuum Sealing
One of the most practical uses of a DIY vacuum pump is vacuum sealing. By removing air from bags or containers, you can extend the life of perishable items. This method works particularly well for food storage.
- Food Preservation: Store vegetables, meats, and other perishables in vacuum-sealed bags to extend shelf life.
- Dehydration: Use the vacuum pump in combination with a dehydrator to create dehydrated snacks that last longer.
2. Automotive Uses
DIY vacuum pumps can also come in handy for automotive repairs. They can be used to bleed brakes or test various vacuum components within your vehicle.
- Brake Bleeding: Use the pump to draw air from the brake system, ensuring that no air bubbles remain in the brake line.
- Testing Vacuum Systems: Many cars have vacuum-operated components. A vacuum pump can be used to diagnose and test these systems.
Advantages of Using a Ball Pump as a Vacuum Pump
Cost-Effective
Creating a vacuum pump using a ball pump is incredibly cost-effective. Traditional vacuum pumps can be quite expensive, especially for basic applications that don’t require industrial-level power.
- Affordability: You can easily find all the components for under $30, compared to several hundred dollars for a commercial vacuum pump.
- Availability: The parts required are readily available at most hardware stores, making it a quick project to start without any specialized orders.
Simplicity
- Easy Assembly: The assembly process is relatively straightforward and doesn’t require advanced tools or skills.
- Multi-Purpose: This type of pump can be disassembled and reused as a ball pump, making it versatile.
Drawbacks and Limitations
While turning a ball pump into a vacuum pump has its advantages, there are certain limitations to be aware of.
Limited Power
- Low Vacuum Pressure: The vacuum level achieved by this setup will be limited. It is suitable for light-duty tasks but not for anything that requires a deep vacuum.
- Not Ideal for Industrial Applications: If you need a vacuum pump for industrial or high-performance tasks, this DIY version will not suffice. For more substantial requirements, consider a professional vacuum pump system.
Durability
- The components of a ball pump are not designed for continuous, high-stress use, which means this DIY vacuum pump may wear out quickly if overused.
- Check valves and tubing could fail under constant pressure, leading to frequent replacements.
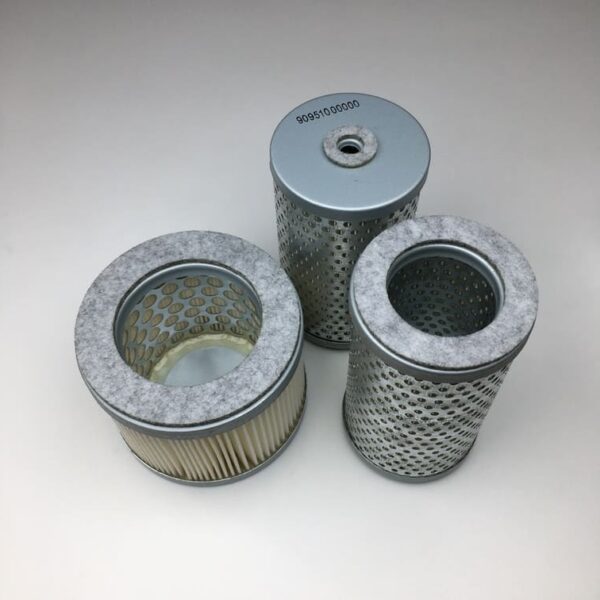
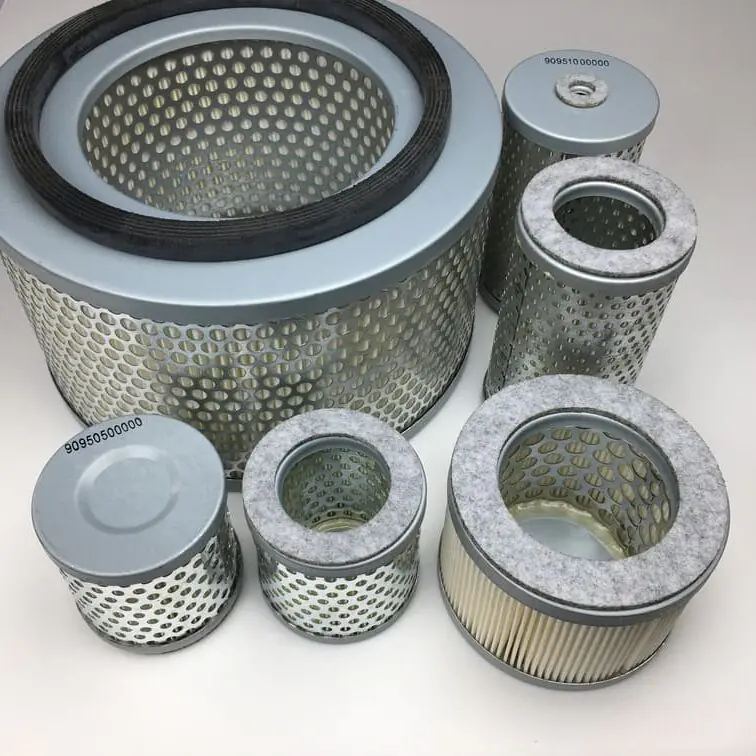
Becker Air Filter replaces Becker 909540 – Another part that could be useful in improving your pump’s efficiency.

