How to Rebuild a Gast Vacuum Pump
Rebuilding a Gast vacuum pump can restore its performance and extend its lifespan, saving you money while ensuring it continues to operate at its best. Whether you are using a Gast pump in an industrial setting, laboratory, or a small workshop, this guide will provide a comprehensive overview on how to rebuild a Gast vacuum pump, ensuring that every part is checked, cleaned, and restored. Let’s dive in.
Understanding the Gast Vacuum Pump System
Before you start dismantling your Gast vacuum pump, it’s essential to understand how the system works. A Gast vacuum pump functions by using a series of rotary vanes that move within a circular chamber. These vanes create pressure differences to pull in air or gases, effectively creating a vacuum.
Key Components of a Gast Vacuum Pump
- Rotary Vanes: The main elements responsible for creating the vacuum. They wear over time due to friction.
- Motor: Drives the rotary vane system.
- Gaskets and Seals: These ensure no air escapes from the system, maintaining the vacuum.
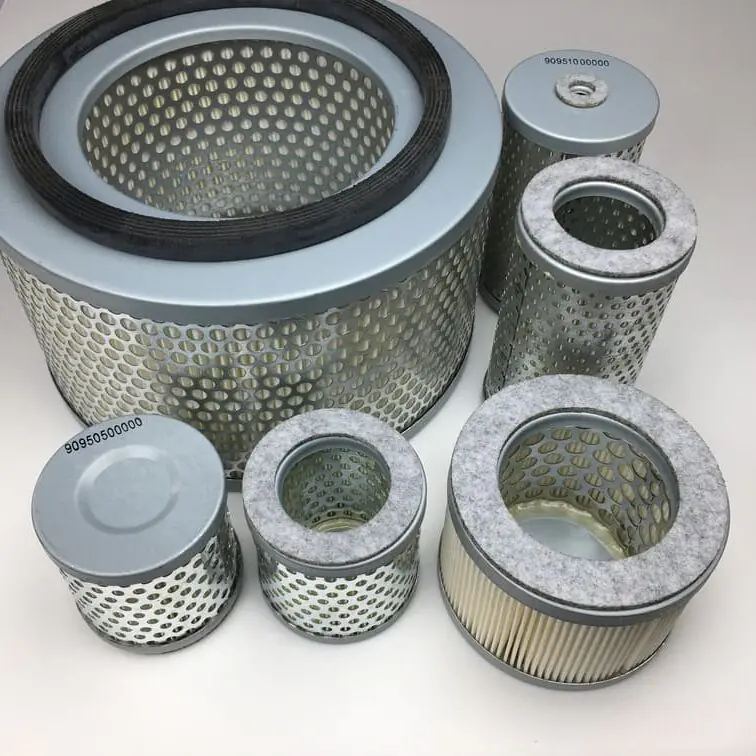
- Filters: Keep contaminants out, ensuring the pump functions efficiently.
“Having a clear understanding of each component will make the rebuilding process simpler and more effective.”
Tools and Materials Required for Rebuilding
To rebuild a Gast vacuum pump effectively, you’ll need some specific tools and a rebuild kit. Below is a list of essentials:
Tools You Will Need
- Wrenches and Screwdrivers: For dismantling the pump housing.
- Allen Keys: Used for loosening bolts and fasteners.
- Cleaning Brush: To clean dust and grime from the vanes and housing.
- Lubricant: To keep the components moving smoothly.
- Gasket Scraper: Helps remove old gasket material.
Rebuild Kit Contents
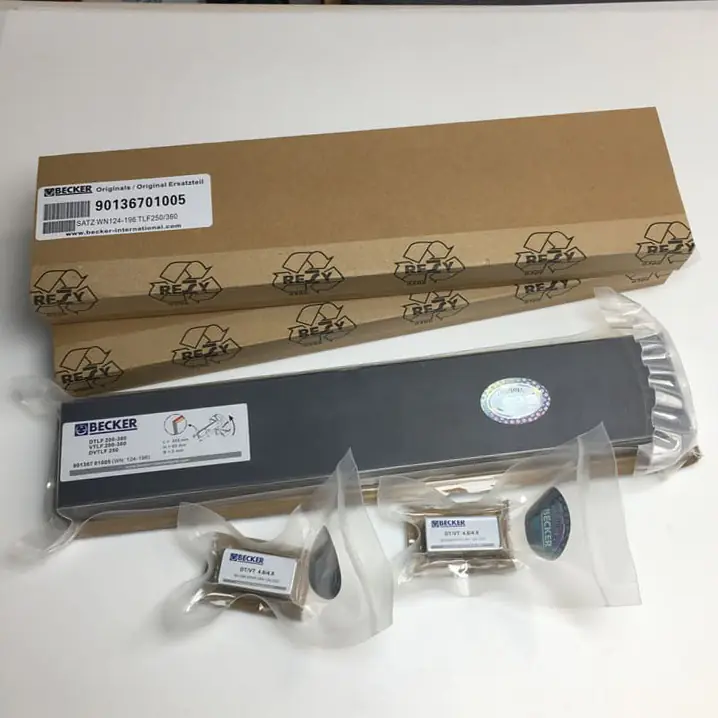
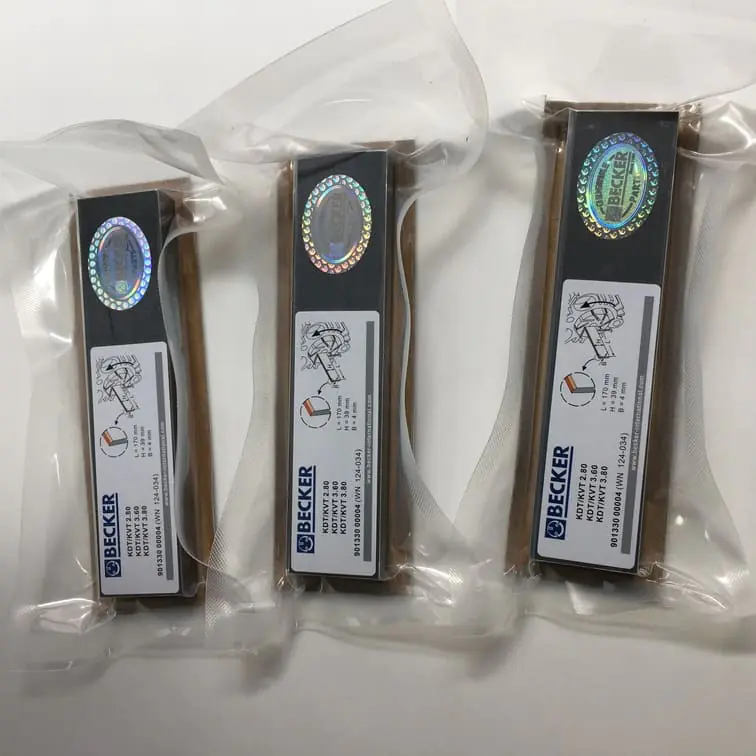
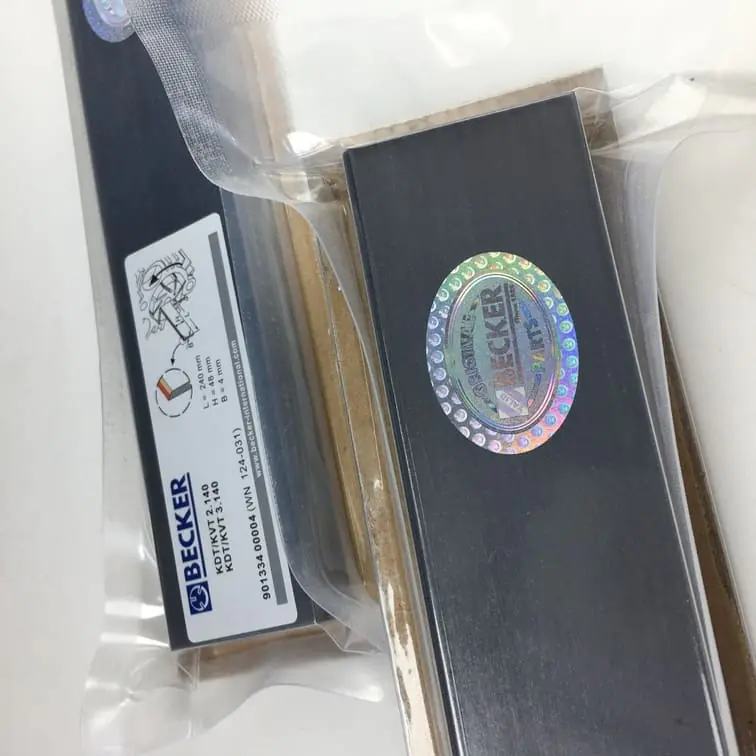
A typical Gast rebuild kit includes:
- Rotary Vanes: These are the primary components you’ll need to replace.
- Gaskets and Seals: New gaskets and seals to prevent leaks.
- Filters: Replacement filters to ensure clean operation.
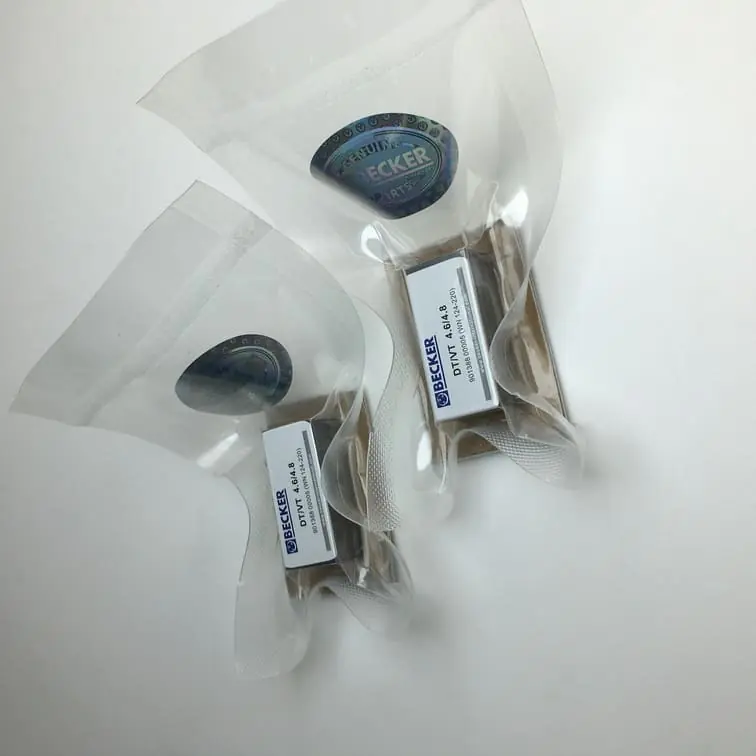
You can find genuine parts, such as the Gast Rotary Vane Rebuild Kit, that are designed for your specific pump model.
Step-by-Step Rebuilding Process
Below, we will go through a detailed, step-by-step process for dismantling and rebuilding your Gast vacuum pump.
Step 1: Disassemble the Pump
- Power Off and Disconnect: Make sure the pump is unplugged to avoid any electrical hazards.
- Remove External Components: Detach any hoses and fittings that are connected to the pump. Set them aside.
- Open the Pump Housing: Use a wrench or screwdriver to remove the housing cover. Make sure to lay out each part in order so that reassembly is straightforward.
Step 2: Inspect Internal Components
Once the pump is open, it’s time to inspect the internal components.
- Rotary Vanes: Check the vane thickness. If they show significant wear or uneven surfaces, they need replacing.
- Motor Shaft: Inspect the motor shaft for any visible wear. A misaligned shaft can reduce efficiency.
- Gaskets and Seals: Gaskets should be flexible and intact. If they’re brittle or cracked, replace them.
Step 3: Replace Worn Parts
- Vanes Replacement: Take out the old vanes and replace them with the new ones provided in the rebuild kit. Ensure they fit snugly into the rotor slots.
- Install New Gaskets: Use a gasket scraper to remove old gaskets and apply the new ones. This is crucial to prevent leaks.
- Check the Bearings: Ensure the bearings are properly lubricated and replace if they show wear.
Step 4: Clean and Reassemble
- Clean the Housing: Use a cleaning brush to remove dust and debris from the pump housing. A clean interior ensures better performance.
- Reassemble Components: Carefully reassemble the pump, making sure all parts are aligned correctly. Tighten all screws and bolts securely but avoid over-tightening to prevent damage.
- Apply Lubricant: Use the lubricant sparingly to ensure smooth operation without causing oil buildup.
“A successful rebuild means checking each part thoroughly and ensuring it is either cleaned or replaced.”
Testing the Rebuilt Pump
After reassembling the pump, it’s important to test it to ensure it works correctly.
Step 1: Initial Power-On Test
- Plug in the Pump: Once everything is reassembled, connect the pump to power.
- Listen for Irregular Noises: Any grinding or knocking sounds indicate that the vanes are not seated correctly or that something is out of alignment.
Step 2: Check Vacuum Pressure
- Attach a Vacuum Gauge: To make sure the pump is working properly, attach a gauge to check the vacuum levels. The pressure should be in line with the pump specifications.
Common Mistakes to Avoid When Rebuilding
Rebuilding a Gast vacuum pump requires attention to detail. Here are some common mistakes to avoid:
1. Incorrect Vane Installation
Installing vanes incorrectly can lead to poor performance or damage. Always make sure the vanes are seated with the correct orientation.
2. Ignoring Gasket Integrity
Gaskets are often overlooked, but they play a crucial role in maintaining vacuum pressure. Make sure all gaskets are replaced, especially if they show signs of aging.
3. Over-Tightening Bolts
While it’s important that the pump housing is sealed, over-tightening bolts can crack the casing or deform the gaskets, leading to air leaks.
Maintenance Tips After Rebuilding
To extend the life of your Gast vacuum pump after a rebuild, consider the following maintenance tips:
1. Regular Oil Changes
If your pump uses oil, perform regular oil changes to maintain efficiency and extend component life. Always use the correct type of oil as specified by the manufacturer.
2. Filter Replacement
Replace filters every 3-6 months, depending on the working environment. Clogged filters reduce efficiency and can overwork the motor.
3. Monitor Vacuum Levels
Using a vacuum gauge periodically helps you determine if the pump is operating efficiently or if there is a need for further maintenance.
Why Rebuilding is Better Than Replacing
Rebuilding a Gast vacuum pump can be more beneficial than replacing it for several reasons:
1. Cost Efficiency
Rebuilding is significantly cheaper compared to buying a new pump. With the right rebuild kit and some technical skills, you can restore a pump to near-original performance.
2. Extended Equipment Life
Rebuilding replaces the components that degrade over time, effectively giving your pump a new lease on life. This means you get more years of dependable service.
3. Eco-Friendly Option
By choosing to rebuild, you reduce waste and environmental impact. Fewer discarded parts mean less material ends up in a landfill.
Frequently Asked Questions
1. How often should I rebuild my Gast vacuum pump?
The rebuild frequency depends on usage. For continuous use, it is recommended to rebuild every 3-5 years or sooner if there is a noticeable drop in performance.
2. Can I use generic parts for rebuilding?
It’s best to use OEM (Original Equipment Manufacturer) parts for reliability. Genuine Gast components are specifically designed to fit and function perfectly with your pump model.
3. What type of oil should I use in my Gast vacuum pump?
Check the user manual or manufacturer’s guidelines. Typically, a low vapor pressure oil is ideal to maintain efficient operation without contamination.
4. Is it difficult to replace the rotary vanes?
Replacing the rotary vanes is straightforward as long as you follow the guidelines in the rebuild kit and use the right tools.
5. What should I do if my pump makes unusual noises after rebuilding?
Unusual noises could indicate incorrect assembly or misaligned parts. Disassemble the pump, inspect each component, and reassemble it, ensuring everything is in the correct position.
Conclusion
Rebuilding a Gast vacuum pump is an excellent way to extend its operational life, improve its performance, and save costs. By following the detailed steps provided in this guide, you can successfully rebuild your vacuum pump and ensure it continues to function efficiently. Remember to use genuine parts, follow safety procedures, and avoid common mistakes to make the rebuilding process smooth and effective.
For more information on rebuild kits and spare parts, visit our Gast Spare Parts Collection. With a little effort, you can keep your Gast vacuum pump running smoothly for years to come.

