How to Empty a Vacuum Desoldering Pump
In the world of electronics repair, a desoldering pump is an invaluable tool. Whether you’re replacing faulty components or simply salvaging parts, the ability to remove excess solder cleanly and efficiently is essential. A vacuum desoldering pump helps you accomplish this, but regular maintenance is key to ensuring that your pump works effectively. One crucial part of maintenance is knowing how to empty your vacuum desoldering pump. In this guide, we’ll take you step-by-step through the process of emptying a vacuum desoldering pump, offering insights, tips, and best practices.
Understanding a Vacuum Desoldering Pump
A vacuum desoldering pump is designed to help remove melted solder from electronic components on a circuit board. It works by using suction to pull liquified solder away from the target area, leaving clean solder pads or contacts. These tools can either be manual (operated by a plunger) or powered, using an electric vacuum mechanism. Over time, the collected solder and flux residues build up in the pump’s reservoir or barrel, and regularly emptying it is essential to maintain peak performance.
Components of a Desoldering Pump
Before diving into the steps of emptying your pump, it’s helpful to understand its basic parts. These components may vary depending on the specific model, but most pumps include:
- Nozzle: The tip through which the melted solder is sucked up.
- Barrel/Reservoir: This is where the collected solder is stored.
- Plunger/Vacuum Mechanism: Creates the suction needed for desoldering.
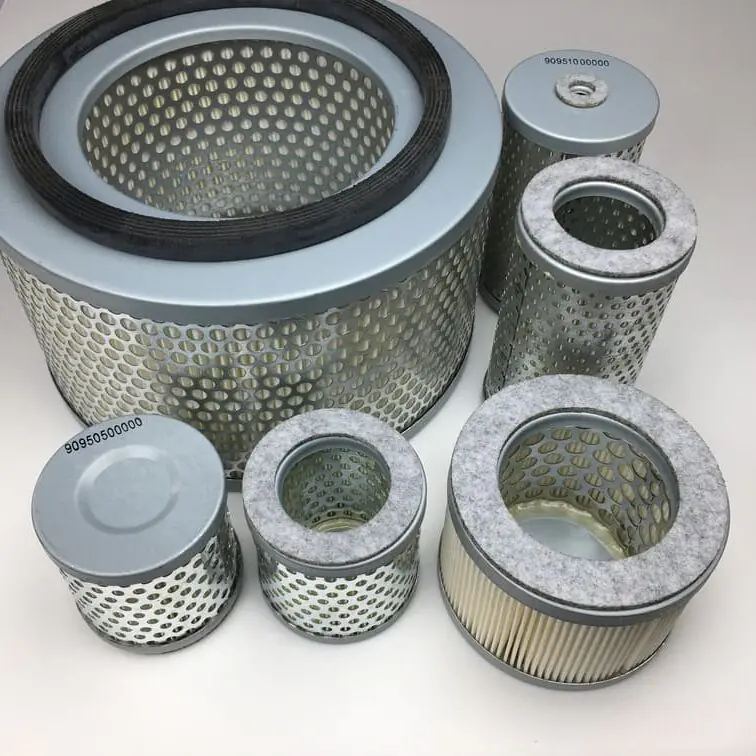
- Filter: Prevents the collected solder from damaging the pump mechanism.
Why Emptying Your Desoldering Pump is Important
Using your desoldering pump without emptying it regularly can lead to a host of problems. For one, a clogged pump is less efficient—it won’t generate the necessary suction power to remove solder properly. Moreover, excessive solder buildup in the barrel can block the filter or even cause damage to the internal components, leading to costly repairs. Regular maintenance not only extends the life of your tool but also ensures that it performs consistently well every time you need it.
How to Empty a Vacuum Desoldering Pump
Let’s look at the detailed step-by-step process of emptying your vacuum desoldering pump. Always remember to follow safety protocols and use the appropriate tools when handling hot or sharp components.
1. Safety Precautions
The first and most important step is to ensure your safety. Emptying a desoldering pump usually involves handling hot solder, so be cautious. Here are a few safety tips to keep in mind:
- Unplug the Pump: If you’re using an electric vacuum pump, make sure it’s unplugged and cool to avoid burns or electric shock.
- Wear Protective Gear: Gloves and safety glasses are recommended to prevent burns from hot solder or accidental exposure to chemicals.
- Work in a Well-Ventilated Area: Soldering and desoldering produce fumes, and it’s best to work in an area with good airflow.
2. Disassemble the Pump
Most vacuum desoldering pumps are designed to be taken apart easily for cleaning and maintenance. Begin by unscrewing or detaching the barrel from the body of the pump. Depending on your model, this may require specific tools, such as a wrench or screwdriver.
- Remove the Nozzle: Start by unscrewing the nozzle from the front of the pump. This part often has residual solder that needs to be cleaned.
- Open the Barrel/Reservoir: Next, detach the main barrel or reservoir section where the solder collects. This is usually a cylindrical component that can be unscrewed or popped off.
3. Remove the Collected Solder
Once the reservoir is open, you will see accumulated solder fragments and residue inside.
- Tap Out the Solder: Turn the barrel upside down and gently tap it to dislodge any large chunks of solidified solder. It’s helpful to have a container ready for disposal.
- Scrape Off Residue: For more stubborn residue, you can use a small metal scraper or brush. Be careful not to damage the barrel or any internal components.
- Check the Filter: Some vacuum desoldering pumps have a filter inside to prevent solder from entering the vacuum mechanism. Remove the filter and check for any blockages, and replace it if necessary.
4. Clean the Barrel and Nozzle
Cleaning these components thoroughly will enhance the longevity of your pump. Use isopropyl alcohol to wipe down the barrel and nozzle, removing any remaining flux or small solder particles.
- Soak the Nozzle: The nozzle often becomes clogged with solder. Soaking it in isopropyl alcohol can help dissolve residue.
- Use Compressed Air: After cleaning, use compressed air to blow out any remaining particles from the nozzle or barrel.
5. Reassemble the Pump
Once everything is clean and dry, reassemble the pump:
- Reattach the Nozzle: Screw the nozzle back onto the pump body, ensuring it’s snug but not overly tight.
- Reattach the Barrel: Secure the barrel back in place, making sure all seals and connections are properly aligned.
- Test the Pump: Before using it on an actual circuit board, turn on the pump and do a quick suction test to ensure it’s working correctly.
Best Practices for Maintaining Your Desoldering Pump
Keeping your desoldering pump clean and well-maintained can save you time and frustration in the long run. Here are some helpful maintenance tips:
- Empty After Every Use: Ideally, you should empty the pump after every significant desoldering session. This prevents excessive buildup and keeps the suction at optimal levels.
- Use Lubrication: To keep the pump action smooth, apply a small amount of lithium grease to the plunger or piston mechanism. This will prevent wear and ensure consistent suction power.
- Inspect Regularly: Check the condition of the filter and replace it as needed. A clogged filter will drastically reduce the effectiveness of your pump.
Common Issues When Emptying a Desoldering Pump
1. Difficulty Removing the Nozzle
Over time, solder residue can cause the nozzle to become stuck. In such cases:
- Heat the Nozzle Slightly: Applying a little heat can soften the solder, making it easier to unscrew.
- Use Pliers Carefully: If necessary, use pliers to gently twist the nozzle off, being careful not to strip the threading.
2. Solder Stuck Inside the Barrel
If solder pieces are stuck in the barrel and won’t come out easily:
- Use a Scraper or Pick: A small pick or scraper can help remove the solder, but be gentle to avoid damaging the barrel.
- Soak in Alcohol: Letting the barrel soak in isopropyl alcohol can loosen stubborn residue.
3. Reduced Suction Power
If the pump isn’t creating enough suction after reassembly:
- Check for Blockages: Make sure no solder residue is blocking the nozzle or barrel.
- Inspect Seals: Ensure all seals are properly positioned, and the barrel is screwed on tightly to maintain a proper vacuum.
FAQs
1. How often should I empty my vacuum desoldering pump?
It’s best to empty your pump after each session or whenever you notice decreased suction efficiency. Regular cleaning will help keep it in good working order.
2. What tools do I need to empty my desoldering pump?
You will need basic tools such as screwdrivers for disassembly, isopropyl alcohol for cleaning, and compressed air for clearing out residue.
3. Can I use a desoldering pump for all types of solder?
Yes, most desoldering pumps can handle all common types of solder, but the residue buildup may vary depending on the type of flux used. Make sure to clean the pump accordingly.
4. How do I know if my desoldering pump needs lubrication?
If the plunger action feels rough or sticky, it may be time to lubricate it with lithium grease to ensure smooth operation.
5. What should I do if my desoldering pump stops working entirely?
First, check for blockages in the barrel or nozzle. If everything is clear, inspect the filter and plunger mechanism for wear. Replacing worn parts may be necessary.
Conclusion
Emptying your vacuum desoldering pump is a straightforward yet essential task that ensures your tool remains effective and long-lasting. By following these steps—from disassembling the pump to cleaning and reassembling it—you can keep your desoldering projects running smoothly. Remember, regular maintenance saves both time and money in the long run, allowing your desoldering pump to perform at its best whenever you need it. Whether you’re a hobbyist or a professional, a well-maintained vacuum desoldering pump is key to effective electronics work.
For more detailed information on desoldering pumps, tools, and accessories, check out VacuumPumpPart.com. They offer a range of quality products to meet your electronic repair needs.


